Army/Castle Clip
Now
I will be adding my next clip onto the monologue which will be a clip
where you can see an army of men and horses and the castle on the
horizon. This clip was also from the same video VTS_08_4_x264. I
used the In and Out tool again and set them at 02:06:23 minutes and
02:20:11 minutes. I am not sure if I will be using this entire clip. But
I wanted to make sure that I had all of the clip in case I want to use
it later on in the trailer.
I then dragged it down into the Project Clips bin and renamed it as 'Army/Castle'.
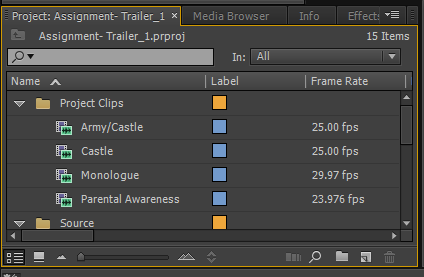 |
| Army/Castle Clip inf the Project Clips bin |
I then dragged it on to the time line at the end of the monologue audio and Unlinked the video and audio from each other and deleted the audio. I then dragged it across next to the Castle clip.
 |
| The Army/Castle Clip unlinked and in place |
I
was not sure which part of the clip I actually wanted. So I
experimented the whole clip till I found one bit which I thought really
worked well as a follow up of the previous clip. I then used the Razor
Tool to cut the clip and kept the rest of the clips just in case I wanted to use it in another part of the trailer.
 |
| The Army/Castle clip cut up with the Razor Tool |
The
part of the clip which used was when the army was walking to castle.
This worked really well, especially with the sentence 'The extraordinary
is in what we do, not who we are'. Because the main character leads an
army to the castle, which really works well because they will be doing
something extraordinary by the looks of clip. Such as going to bring the
witch down.
I again had to resize the clip. I did this by double clicking on the clip till it was displaying a orange lining around the clips and had little squares which I used to resize the clip. I resized the clip so that the edges of the clip were touching the overall fit of the trailer.
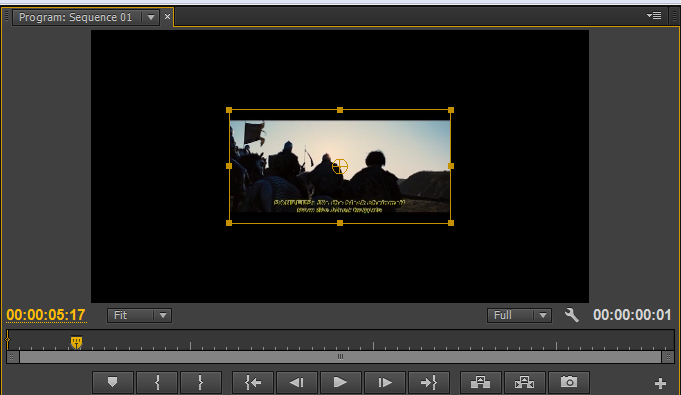 |
| Clip in resize mode |
Here is the result.
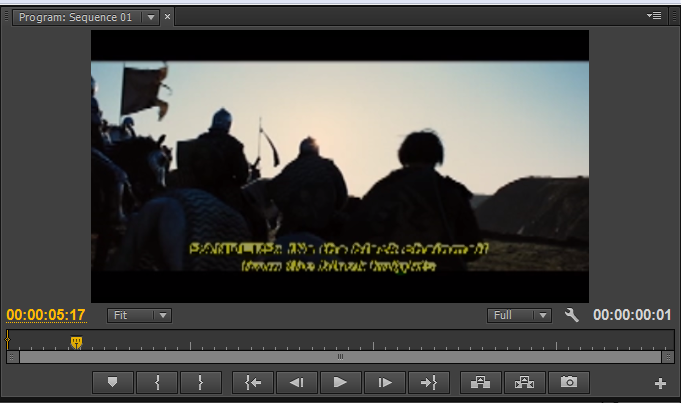 |
| Clip resized |
To crop the image I went to the Transform effects within the Effects Tab. This time though I changed the crop percentage to 15% as it was
enough to crop the writing. It did not need cropping as much as the
previous clip because it did not have as much writing. I then
repositioned it after in the middle of the screen by double clicking on
the clip in the right hand side of the screen.
 |
| Transform effect: Crop settings and the Clip Cropped |
I
was thinking about how I could change the clip especially the contrast. I was thinking about changing the mood slightly, because I
felt that the scene was a bit to bright and cheery mainly due to the
sunlight. I really wanted to try and make the clip look quite dark and
eerie and make it look like a battle ready for sun down.
I had a look through the Colour Correction effects in effects panel and came across Brightness and Contrast. I
gave this a a shot and tried to change the brightness of the clip by
decreasing it. I changed it to about -23%, this was because I wanted a
sunset but wanted to see some of the detail of the army still. However,
this did not make much difference to the brightness of the horizon, but
it did on everything else.
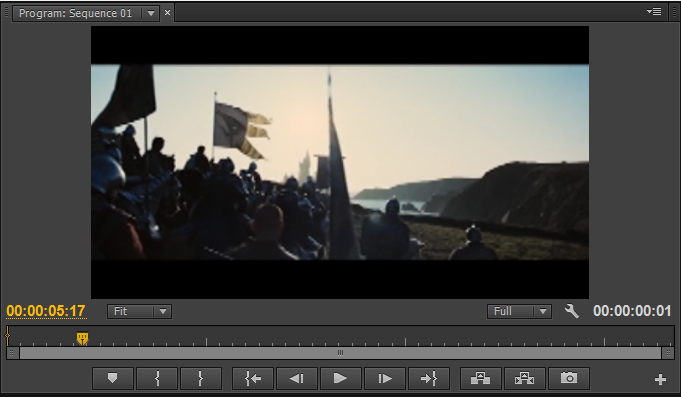 |
| Original Clip Before Effects |
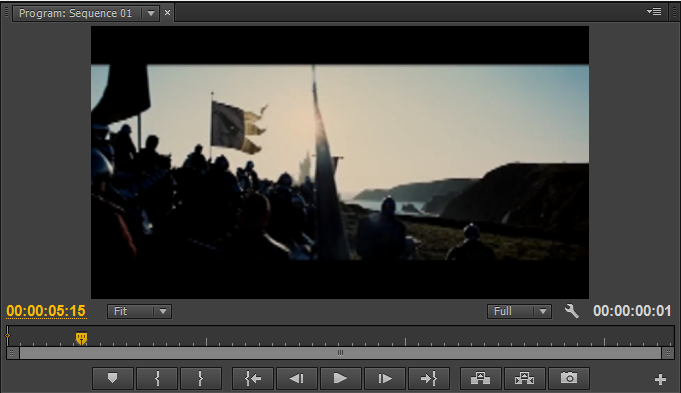 |
| Brightness Adjusted on the clip |
I then decided to try a different colour effect. I tried and effect called Colour Balance. With
this effect you are able to change the RBG colour scale of the video
clip. I tried this out by changing the red tones of the clip to make it
look more like a sunset. I quite like it because it looks like it is
emitting that red light that you can sometimes get from a sunset.
 |
| Original Clip Before Effects |
 |
| Colour Balance adjusted on the clip |
I am not really sure which one to use because they both look really effective and work really well in their own way. However, I have decided to use the Colour Balance effect. This is because as I mentioned above it looks quite effective, making it look like it has a red light emitting from the sun. As mentioned above with changing the brightness, it did not really effect the light of the sun or the horizon, it mainly effect everything else, which did work for the later. But it was not as effective as I thought it was going to be. Also, I think with the colour balance it will look really effective and a good way to follow up the first clip as well which has a lot of sunlight.
Tools used in this blog post:
- In and Out Tool
- Unlink
- Resize: Panel View
- Crop: Transform Effect
- Colour Balance


No comments:
Post a Comment