Shard Clip
I will now be adding a new clip to the
trailer. This clip will go after the last witch clip. This clips will be
based on shards of glass smashing and falling onto the floor. This clip will be good because this clip gives a bit more drama and I feel it gives a bit more action and suspense. I will be
taking this glass/shard clip from VTS_08_4_x264.
I made sure that the source tab was on in the viewing panel and dragged the walk-through to the viewing panel. I then used the In and Out Tool to
make a mark at 00:11:35:12 and 00:11:41:16. This clip is where shards of glass fall onto the floor. I then dragged the clip down into the Project Clips Bin and renamed it 'Shards'.
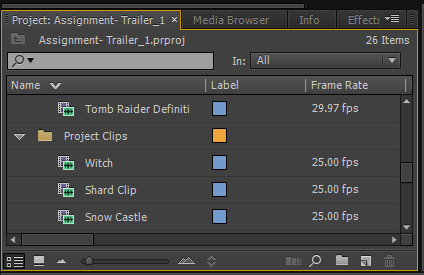 |
| Shard Clip in the Project Clips Bin |
I then
dragged the clip to the timeline at
the end of the end of the second witch clip. I played back the whole video to
see
how it looked. I thought it looked really good and effective for the trailer. However there were was one main problem to the clip, which was that I had to remove the writing from the video clip and resize it to fit the screen.
I started by separating the video and the
audio, however, this time I kept the audio. I did this by right clicking on the
clip on the timeline and went to Unlink. I kept the audio because I liked the sound effects of the shards smashing and falling onto the floor. Also, I felt that I needed some extra sound effects apart from music for the whole trailer. I know I have the monologue, but it is not enough.
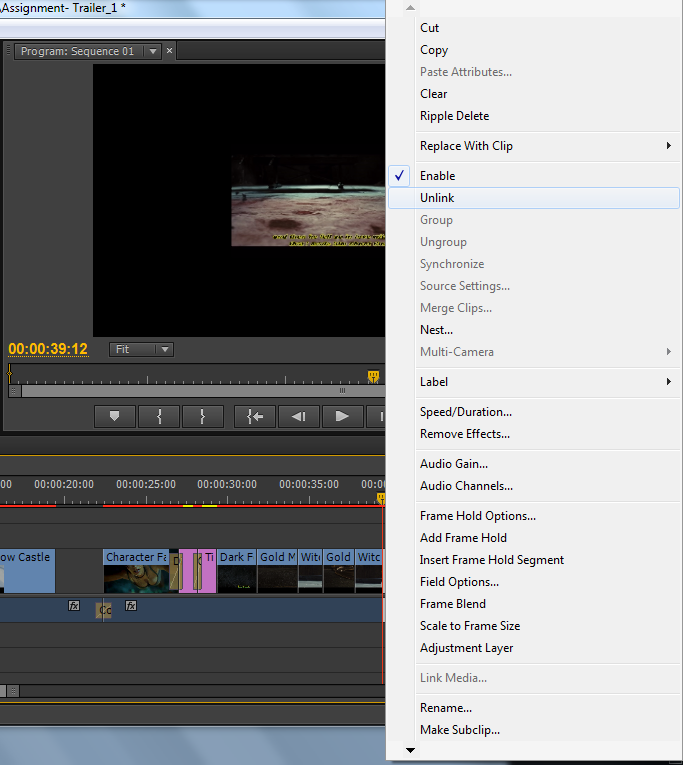 |
| Shard Clip Unlinked, both video and audio are separated. |
I then moved onto to resizing the clip. I
did this by double clicking on the clip in the clip view panel (right
hand side viewing panel) till an orange lining around the clips and had
little squares which I used to resize the clip. I resized the clip that
the edges of the clip were touching the overall fit of the trailer.
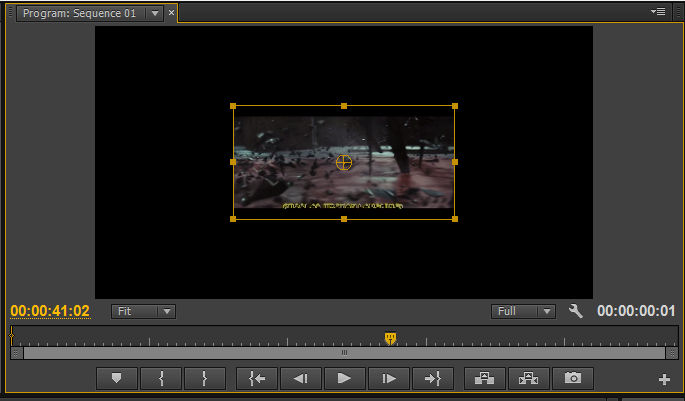 |
| Clip in resize mode |
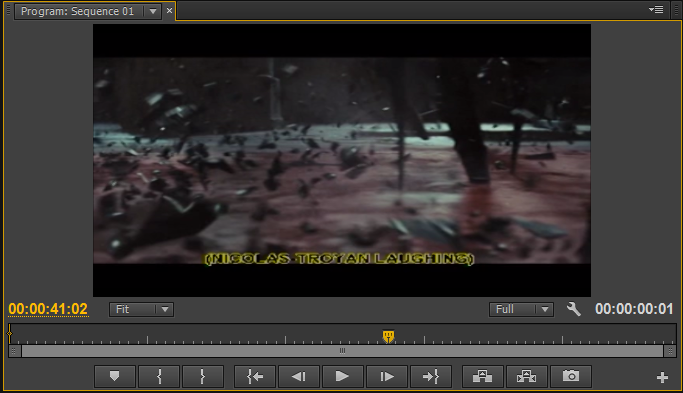 |
| Clip Resized |
I then went and cropped the clip. I did this by going to the Effects panel tab in the same section as the project bins and then went to Video Effects > Transform > Crop. I then went into the Effects Control panel
to the crop settings. I then set the crop percentage for the bottom
only because there is text on the clip which I do not want to be viewed
in the trailer. So, I set the percentage for the bottom crop at 15%.
This was enough to crop the writing and enough that it did not take up
much of the clip up either. I then repositioned the clip so that the two
black lines on the clip were even at both the top and the bottom of the
clip.
 |
| Transform Effect: Crop. Crop setting set for the Shard Clip |
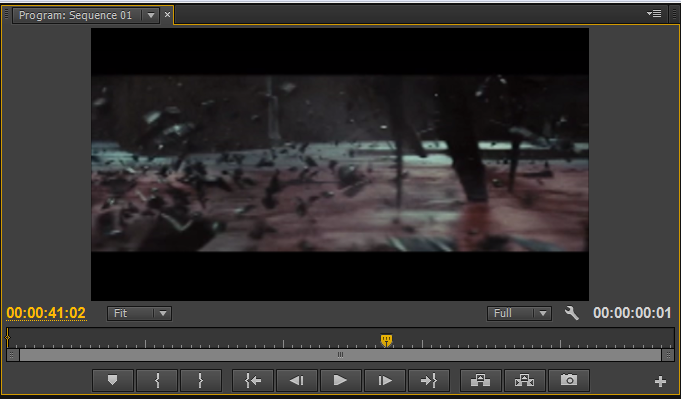 |
| Clip repositioned |
This time I did not need to sort out the clip length, this is because it was at a good length already; personally. It was about the same size as the cut gold molten and witch clips.I am not 100% sure what else I can do to this clip in terms of effects. The clips has the brightness and contrast already on the which worked really well already, meaning that there was no need to improve that side of things. However, I will later when I have decided on the order of these clips I have already done, have a play with other effects and see what else I can do to make this clip my own.
Tools I have used in this post:
- In and Out Tool
- Unlinked
- Resize
- Crop


No comments:
Post a Comment