Carrying Clip
I will now be adding a new clip to the
trailer. This clip will go after the Arrow Shooting Clip. I am not sure why I wanted this clip after the shooting arrow clip, but I thought it looked really effective. I suppose it is because I liked the idea as if that person was shoot during battle and was being carried to their grave. I also like the idea that the character is being carried. I know that the video is not the main character being carried, however, I like the idea it look like the main character being carried because they believe for her to be dead. I
will be
taking this carrying clip from VTS_08_3_x264.
I made sure that the source tab was on in the viewing panel and dragged the walk-through to the viewing panel. I then used the In and Out Tool to
make a mark at 00:25:22:09 and 00:25:25:22. This clip is where shards
of glass fall onto the floor. I then dragged the clip down into the Project Clips Bin and renamed it 'Carrying'.
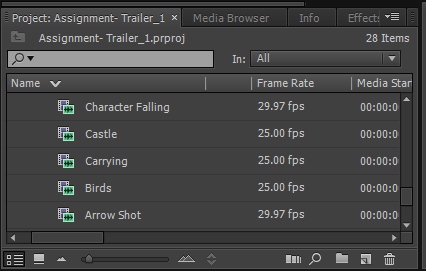 |
| Carrying Clip added to the Project Clips Bin |
I then dragged the clip to the timeline at the end of the end of the music . The
only problem with the clip was the writing on the clip which needed to
be removed.
So, I started by separating the video and
the audio, however, this time I kept the audio. I did this by right
clicking on the clip on the timeline and went to Unlink. I then
selected the audio and deleted it because I did not want the audio as I
was going to be using different audio music for it.
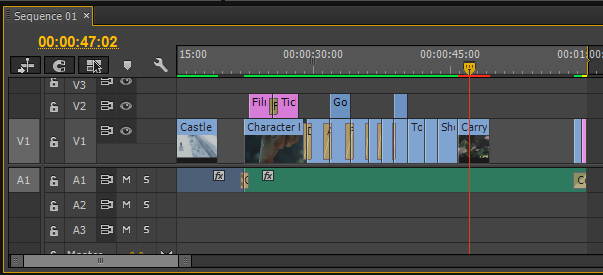 |
| Carrying Clip Unlinked and Audio Deleted |
I then moved onto to resizing the clip. I
did this by double clicking on the clip in the clip view panel (right
hand side viewing panel) till an orange lining around the clips and had
little squares which I used to resize the clip. I resized the clip that
the edges of the clip were touching the overall fit of the trailer.
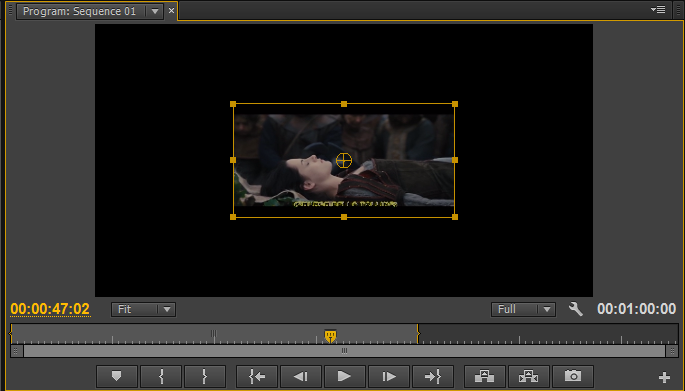 |
| The clip in resize mode |
Here is the result.
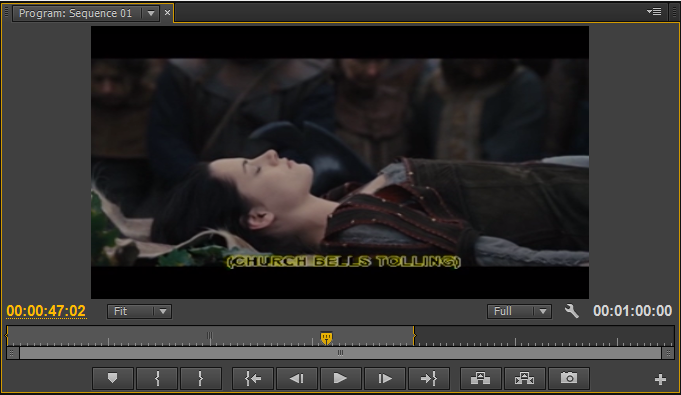 |
| Clip resized |
I then went and cropped the clip. I did this by going to the
Effects panel tab in the same section as the project bins and then went to
Video Effects > Transform > Crop. I then went into the
Effects Control panel
to the crop settings. I then set the crop percentage for the bottom
only because there is text on the clip which I do not want to be viewed
in the trailer. So, I set the percentage for the bottom crop at 15%.
This was enough to crop the writing and enough that it did not take up
much of the clip up either. I then repositioned the clip so that the two
black lines on the clip were even at both the top and the bottom of the
clip.
 |
| Video Effects: Transform: Crop. Crop Settings. |
Here is the final result.
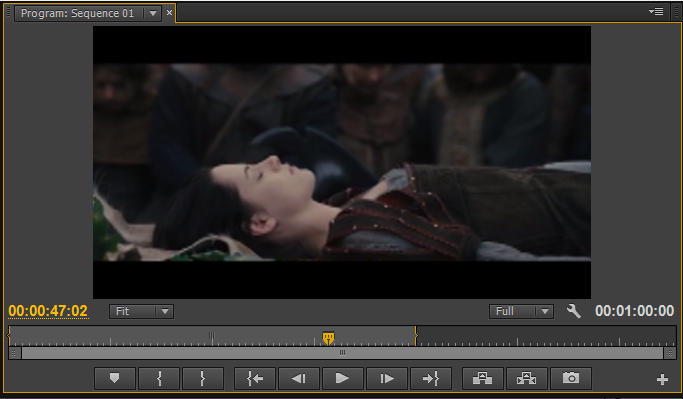 |
| Clip Repositioned |
I did not cut up the clip because I felt that the clip was long enough
that you were able to see the the character being carried, but it was not too long that it took over the trailer. I am not sure if I wanted to change anything
with the clip. I personally think that the clip should be more darker. This is because essentially the main character 'died'. So, I would have thought that it would have had a darker atmosphere because they have died and a darker power is 'going' to take over etc. However, I am still not sure whether I wanted to do anything to the clip or not.
Tools I have used in this post:
- In and Out tool
- Unlink
- Resize
- Crop


No comments:
Post a Comment