Shooting Arrows
I will now be adding a new clip to the
trailer. This clip will go after the Shard warrior Clip. This clip is based on an army who are shooting arrows. I am not sure why I used this clip after the Shard warrior, however, I do like the clip. I thought this clip started to bring together the action together by having some action within the clip. I also like the way when the arrows are shoot by the archers you actually see them flying through the air as well. I will be
taking this shooting arrow clip from VTS_08_4_x264.
I made sure that the source tab was on in the viewing panel and dragged the walk-through to the viewing panel. I then used the In and Out Tool to
make a mark at 00:06:38:11 and 00:06:40:14. This clip is where shards
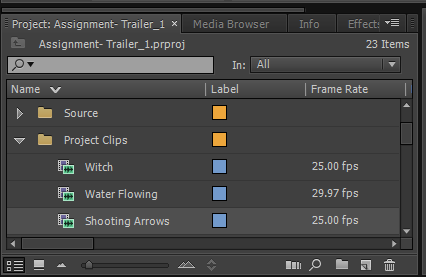
of glass fall onto the floor. I then dragged the clip down into the Project Clips Bin and renamed it 'Shooting Arrows'.
 |
| Shooting Arrow Clip in the Project Clips Bin |
I then dragged the clip to the timeline at the end of the end of the music . The
only problem with the clip was the writing on the clip which needed to
be removed.
So, I started by separating the video and
the audio, however, this time I kept the audio. I did this by right
clicking on the clip on the timeline and went to Unlink. I then
selected the audio and deleted it because I did not want the audio as I
was going to be using different audio music for it.
 |
| Shooting Arrow Clip Unlinked and audio deleted |
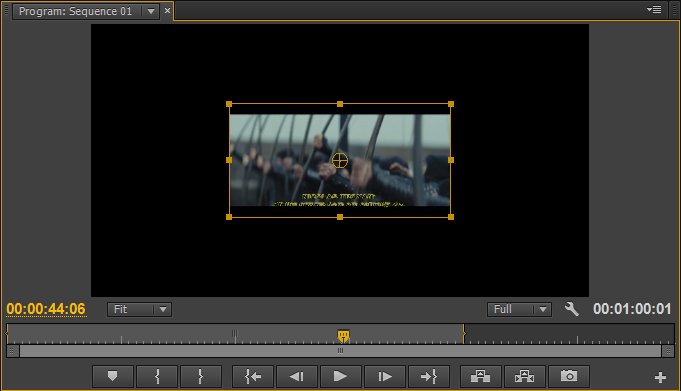
I then moved onto to resizing the clip. I
did this by double clicking on the clip in the clip view panel (right
hand side viewing panel) till an orange lining around the clips and had
little squares which I used to resize the clip. I resized the clip that
the edges of the clip were touching the overall fit of the trailer.
 |
| Shooting Arrow Clip in Resize Mode |
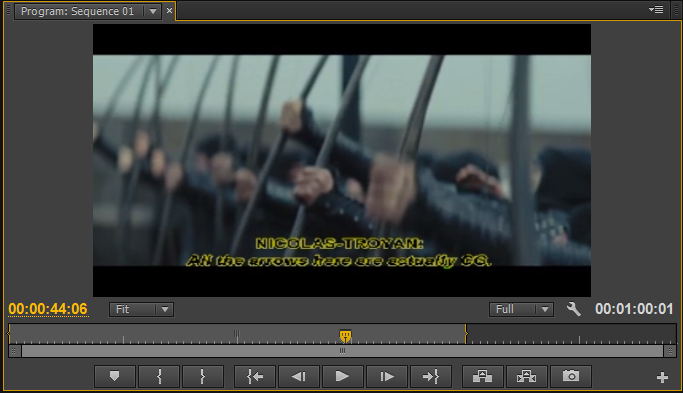
Here is the result.
 |
| Clip Resized |
I then went and cropped the clip. I did this by going to the
Effects panel tab in the same section as the project bins and then went to
Video Effects > Transform > Crop. I then went into the
Effects Control panel
to the crop settings. I then set the crop percentage for the bottom
only because there is text on the clip which I do not want to be viewed
in the trailer. So, I set the percentage for the bottom crop at 21%.
This was enough to crop the writing and enough that it did not take up
much of the clip up either. I then repositioned the clip so that the two
black lines on the clip were even at both the top and the bottom of the
clip.
 |
| Video Effect: Transform: Crop. Crop Settings. |
Here is the final result.
 |
| Clip Repositioned |
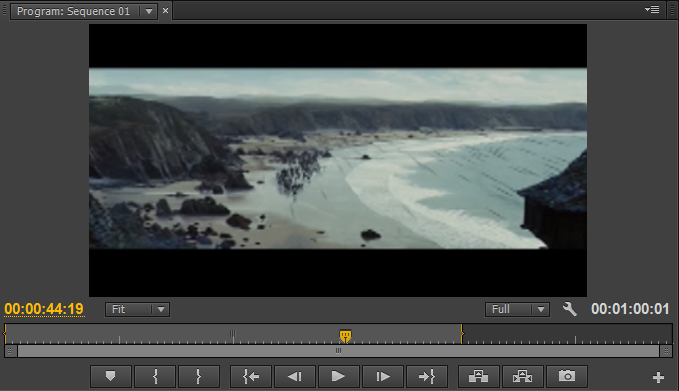
I did not cut up the clip because I felt that the clip was long enough that you were able to see the arrowing being shoot from their archer to them flying in the air. I am not sure if I wanted to change anything with the clip. In a previous clip at the start of the trailer showed an army going to war, this was changed so that it looked like a sun set. I am not sure if I still want to imply this to the clip. I might give it a go and see how it looks. I might add the same red tinge that I did to the previous clip.
I have tried the effect and found that I really liked it. It has darkened the clip, which I have found has made it more realistic for a sunset battle scene. If you look at a sunset you can see that the sky darkens, as I said is what the effect has done to it as well as looking like the sun emitting a red light whilst moving; because of this I have kept this effect. I thought it really brought the clip out more, made it a bit more colourful, but also kept to the idea of the battle at sunset.
I did this effect by going to the
Effects Panel located in the same area as the project folders. I then went to
Video Effects and then I went to
Colour Correction and then selected
Colour Balance. I then changed the settings for the red side of the RBG scale only because the light emitting from a sunset is red. I did this till I was happy with the results.
 |
| Original Clip |
 |
| Video Effect: Colour Correction: Colour Balance. Colour Balance Settings and The clip in its new state. |
Tools I have used in this post:
- In and Out tool
- Unlink
- Resize
- Crop
- Colour Balance


No comments:
Post a Comment